Incoming goods handling
Incoming goods check with digital delivery receipt
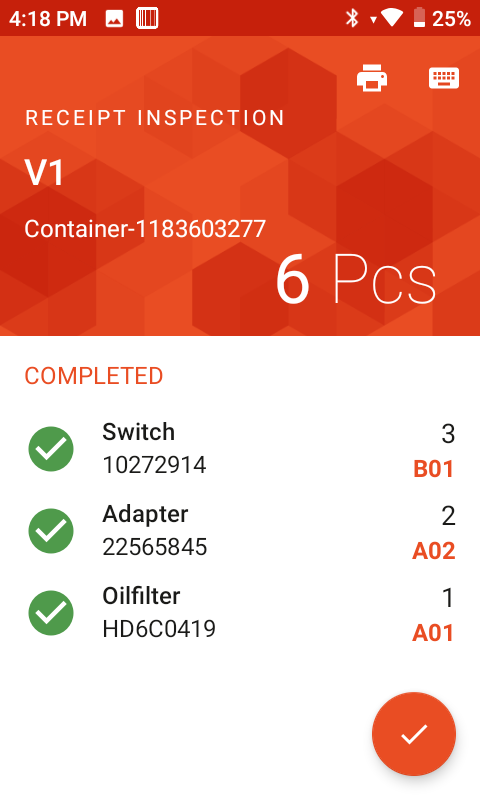
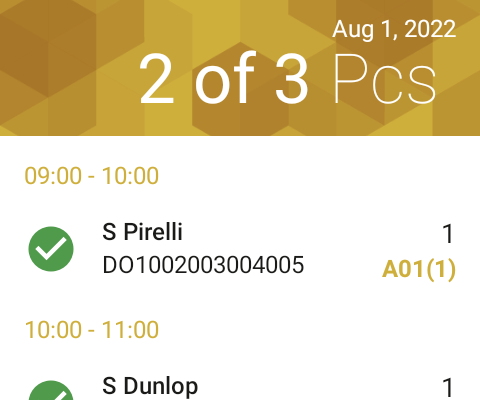
Just scan the shipping crate (collie, container), receipt number or any item within the shipment and off you go.
Check received quantities
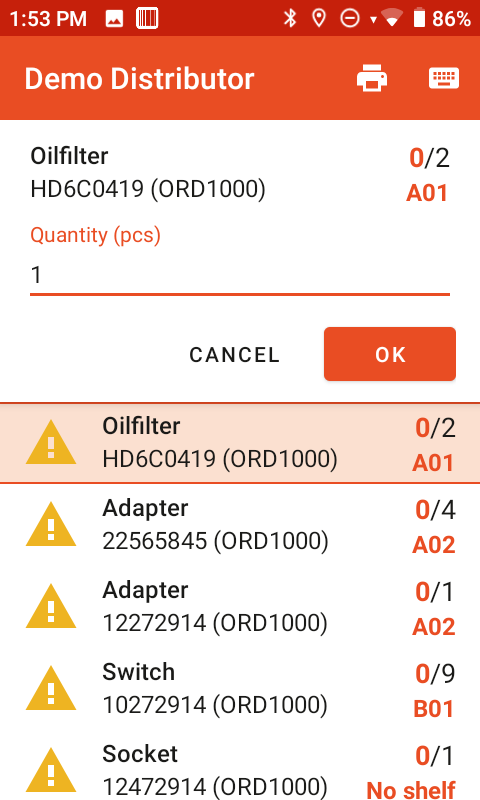
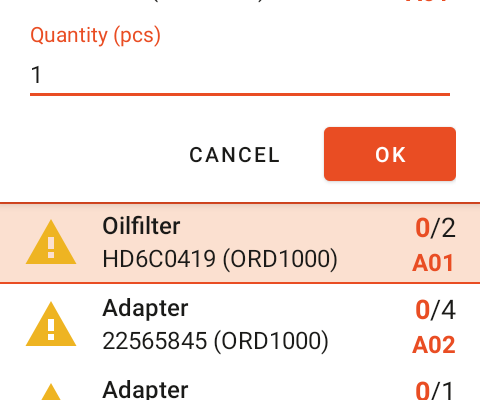
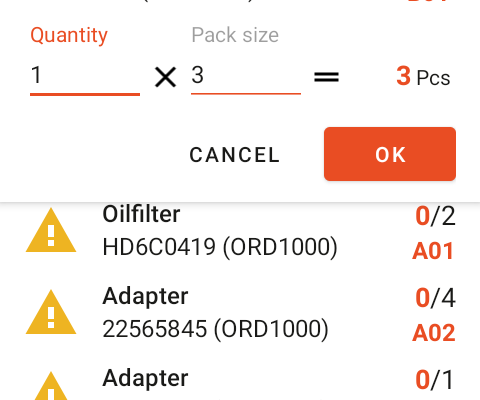
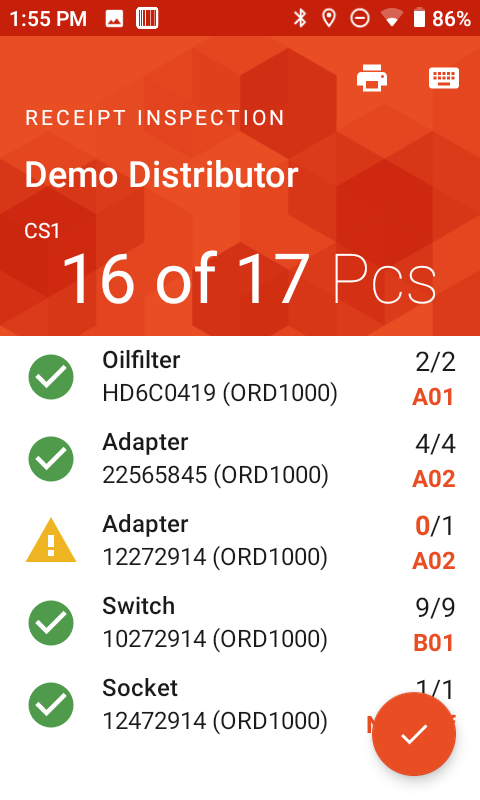
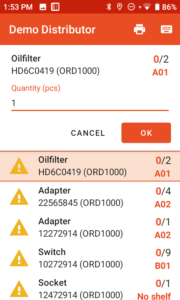
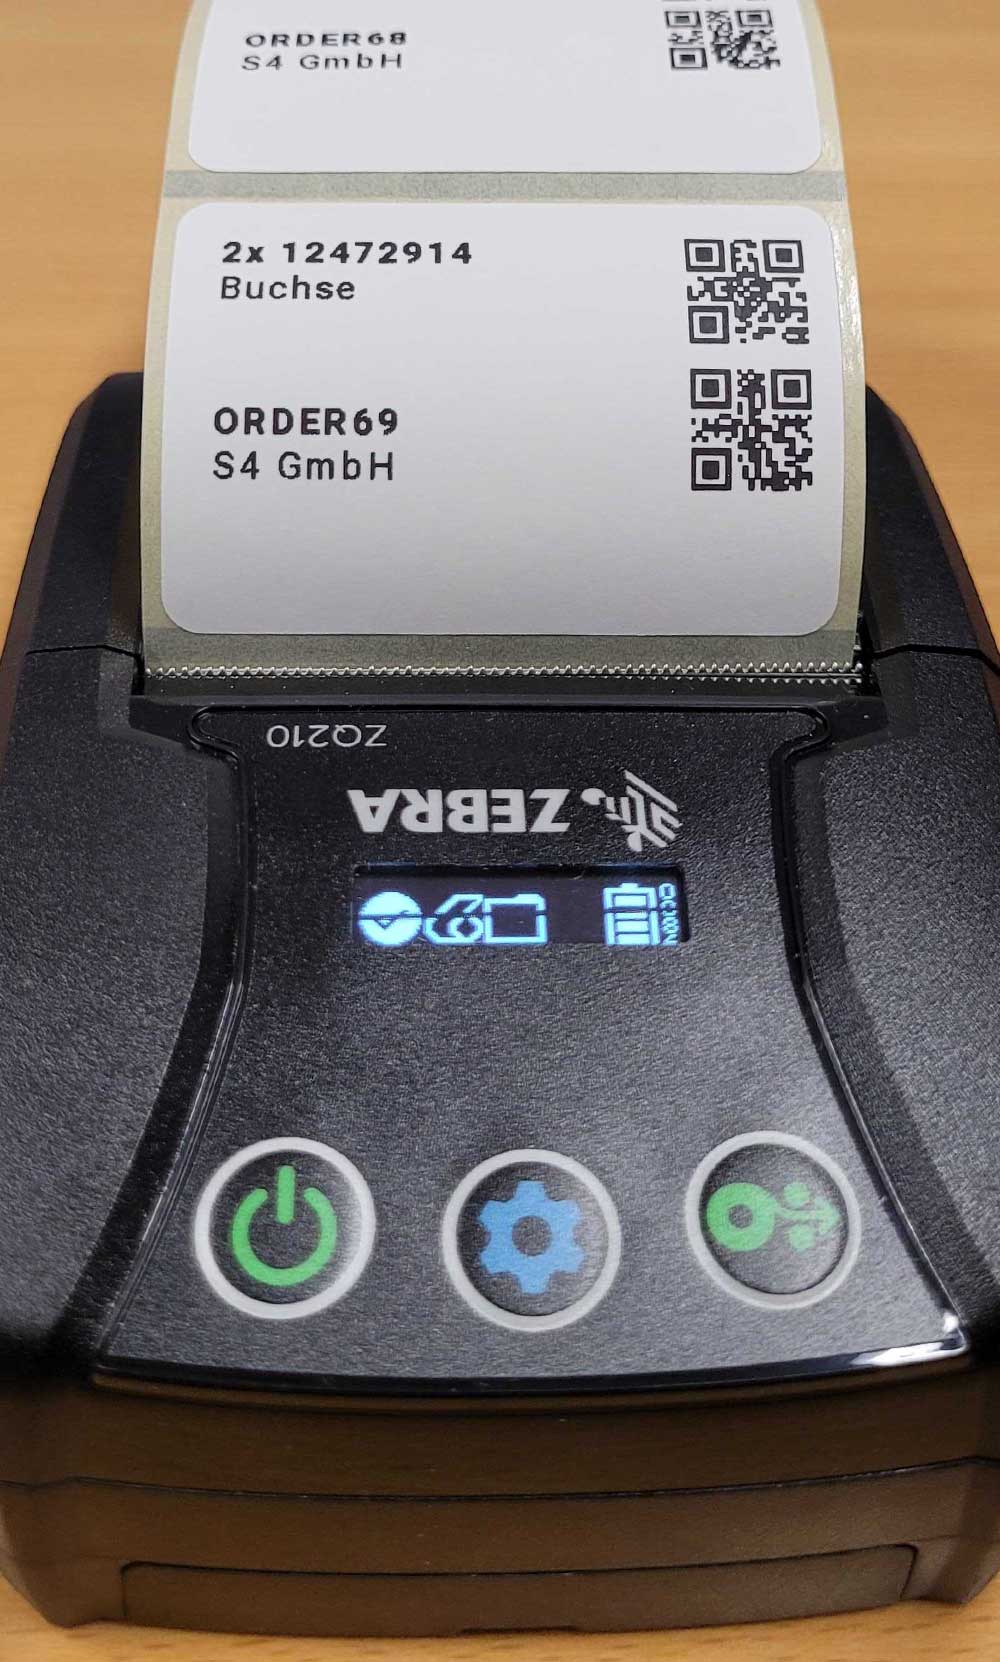
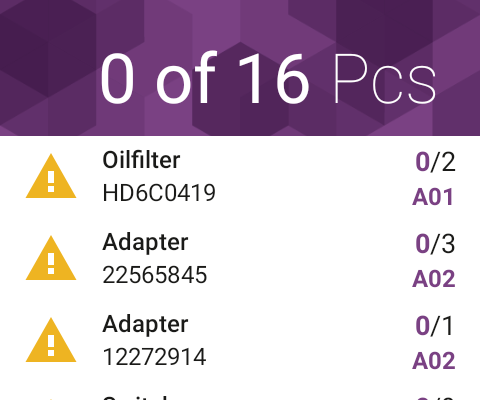
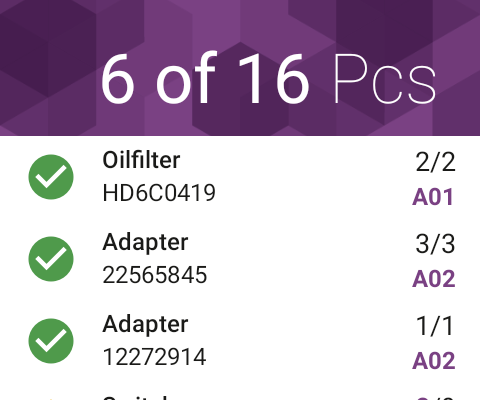
Take the first item out of the crate and scan it! autoscan will show you the expected quantity and the shelf for this item. This will allow you to presort the items for the following put-away. Increase the actual (accepted) quantity by repeatedly scanning the item or via keyboard input. It is even possible to print item labels directly during the receiving process.
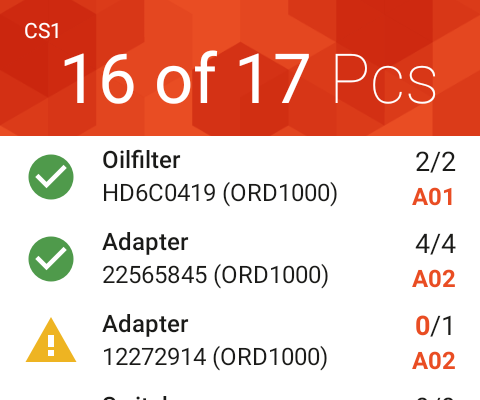
autoscan provides a complete progress overview at all times.
Depending on your configuration, you can activate receiving access quantities or even adding unexpected items to a receipt.
Read more about time-savings when using autoscan.
Incoming goods based on purchase orders
No digital receipt from your vendor? No problem! Receive items with autoscan based on existing purchase orders.
Start receiving
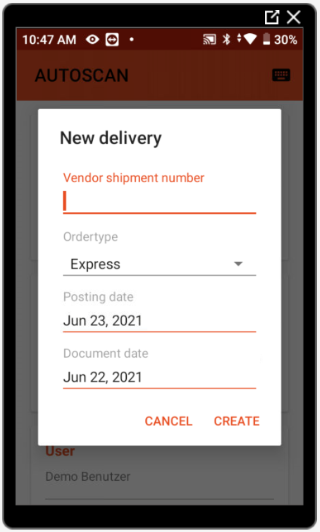
If your vendor doesn’t provide electronic receipts, autoscan will create one for you. Scan the vendor number and the autoscan AI will suggest creating a new receipt.
Just scan the shipment number on the receipt documents, select the correct order type (if applicable) and enter posting and document date.
Incoming goods with no prior electronic information
If you order via your vendor’s webshop or via phone and receive neither an electronic receipt from your vendor nor manually create purchase orders: No problem!
Start the process with autoscan based on an empty receipt and add all items you received on the way.
Start receiving
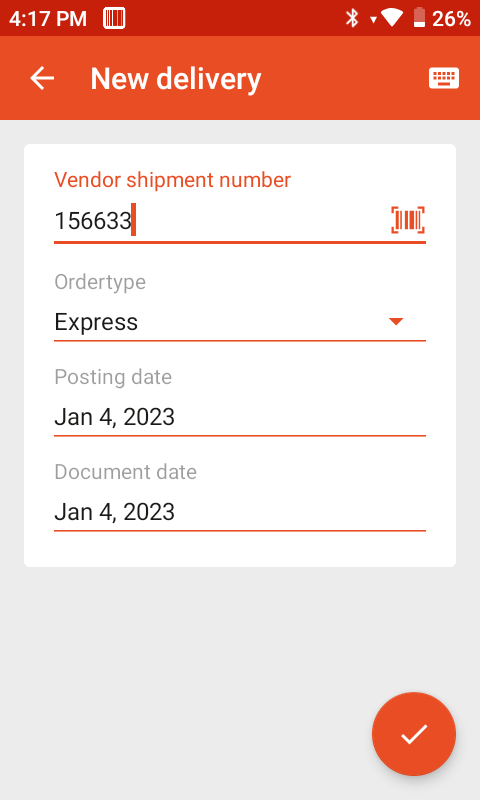
Scan the vendor number and the autoscan AI will suggest creating a new receipt.
Just scan the shipment number on the receipt documents, select the correct order type (if applicable) and enter the posting and document date.
Crossdocking
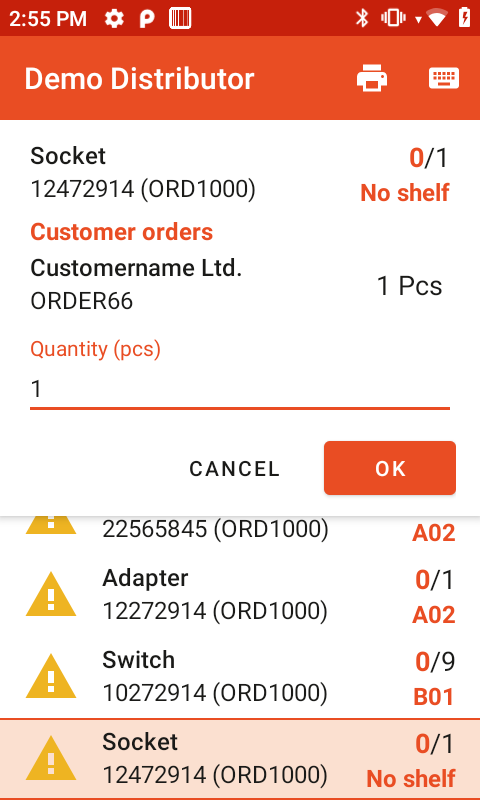
If you use reservations (linking the purchase line to a sales line as origin of demand), autoscan will show them to support direct allocation (crossdocking).
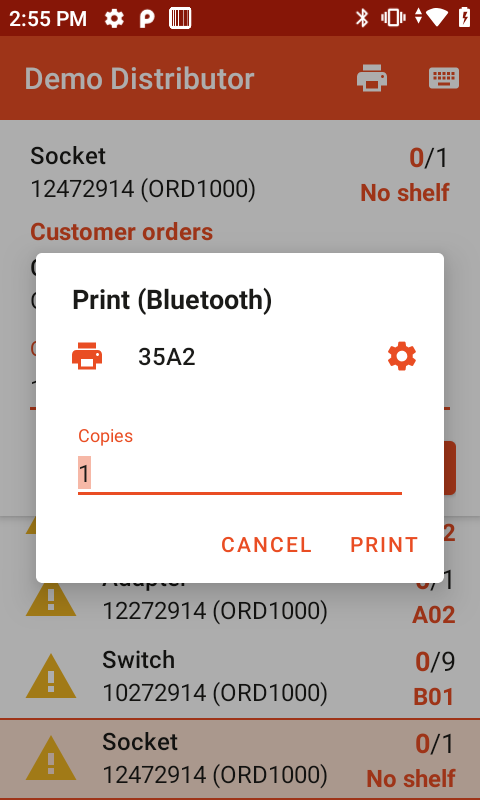
Optionally, autoscan will automatically print your crossdocking label containing all relevant information for directly shipping the item.
Stocking
Guided put-away
For all received items, autoscan provides an optional process, guiding you while making sure each item safely arrives at its designated shelf.
All previously received items will be shown, sorted by shelf number. When putting the item on the shelf and scanning the shelf number, autoscan will check the placement and highlight potential errors.
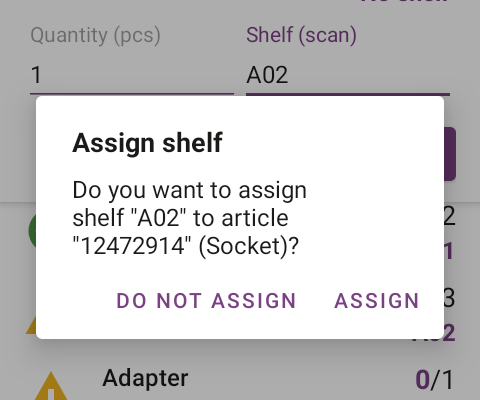
Tip: If you receive an item for the first time, you can choose where to put it and directly assign an item to a new shelf.
Working with sales orders & issuing goods
Pick and ship sales orders
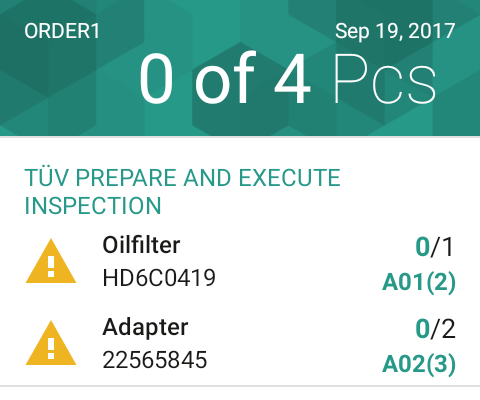
After opening a sales order, autoscan lists all the positions, including quantity and shelf information. Items may be grouped if applicable (e.g. for jobs within a service order).
By going to the displayed location, grabbing and scanning the item, it is automatically picked and shipped.
Scan to edit service orders
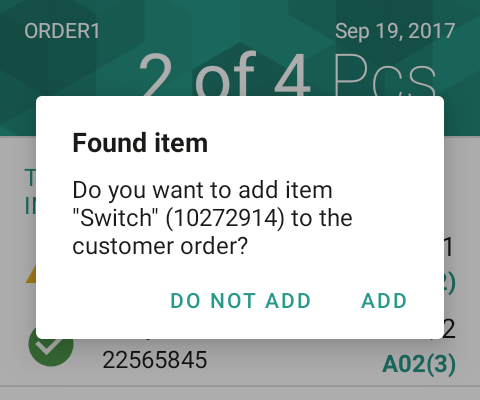
Add items to service orders with just two scans:
- Open the service order (e.g. by scanning the code on the order itself)
- Scan the item you want to add
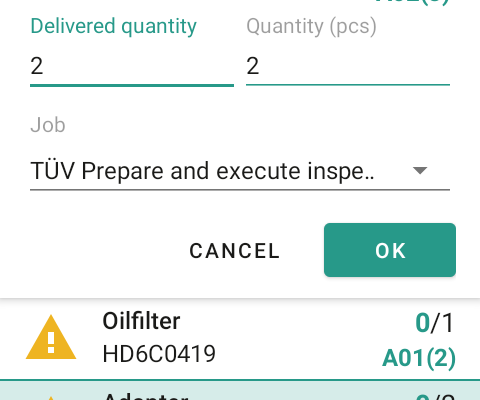
- Change the quantity if needed
- Chose the job for the newly added item
Similarly, you may increase the quantity of already existing items.
Tip: This feature is especially handy for things like adding a liter of windscreen wiper fluid or small parts directly in the workshop.
Automatic posting, invoicing and printing
When you are done picking the sales order, autoscan will post the delivered quantities. Optionally, you can activate automatic invoice creation and printing.
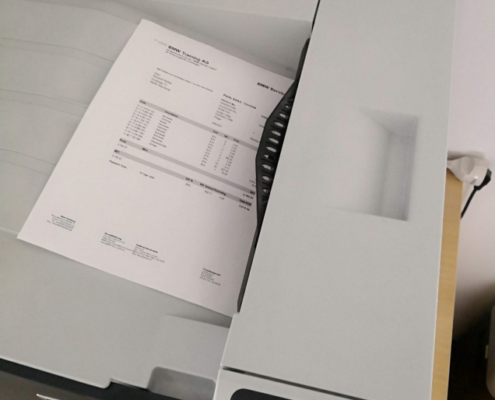
So while you are walking back to the packing station with your picked items, the invoice or receipt is printed automatically and can be added to your shipment.
Picking
The picking flow for wholesale
Especially handy for wholesale: autoscan supports the entire fulfillment process.
- Open all pickable positions for an order
- If your warehouse is organized into floors, just choose the floor you are working on to request the next picking list for this area
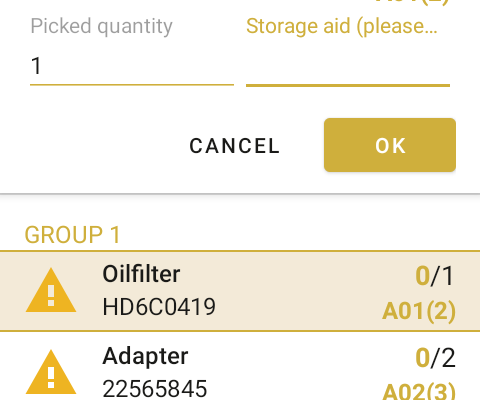
- Pick into temporary boxes (totes, storing aids), if required
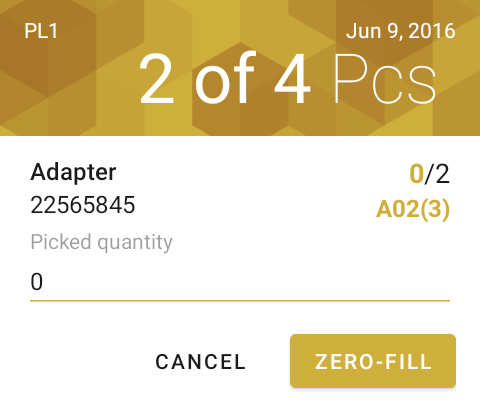
- Flag positions which couldn’t or could only be picked partially
After picking the sales order, it is not “only” shipped in the ERP system, but also invoiced and printed.
After collecting all the items for an order, you will find the invoice already in the printer right next to your packing station without the need for a PC terminal.
Packing
Packing
After picking, you may pack the items to ship them to your customers.
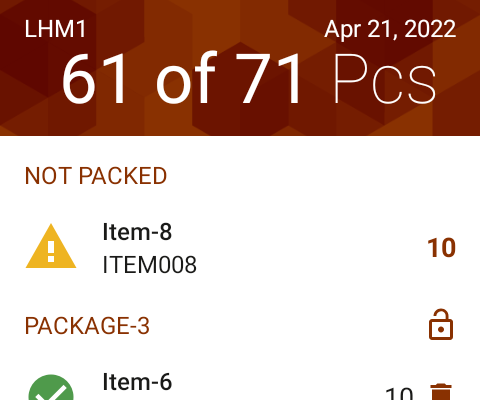
- Open a list of items which need to be packed (Packing List e.g. based on tote/picking aid)
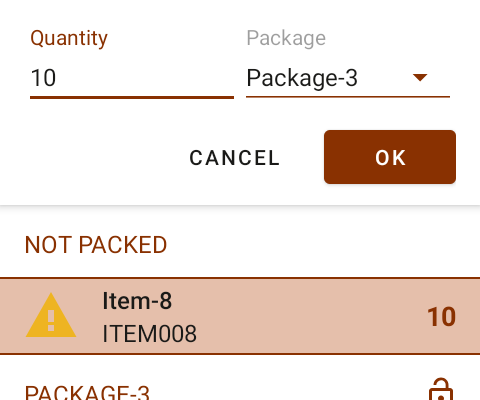
- Create shipping packages (and optionally prefill them with all unpacked items)
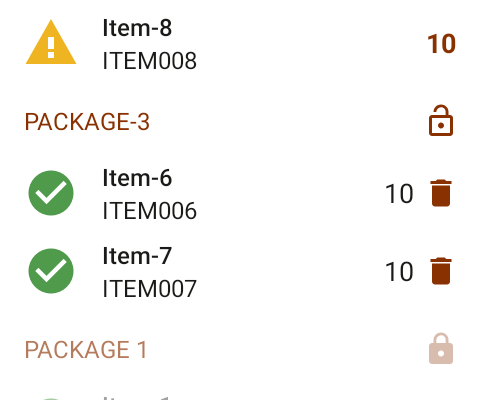
- Pack items into shipping packages
- Finish/seal shipping packages (and optionally create additional packages)
- Let the ERP system or connected shipping solution print shipping labels and hazardous goods labels
Usability aims for the highest possible efficiency. Ultimately, the item to package assignment is stored in the ERP system.
Proof of delivery
For drivers delivering directly to your customers
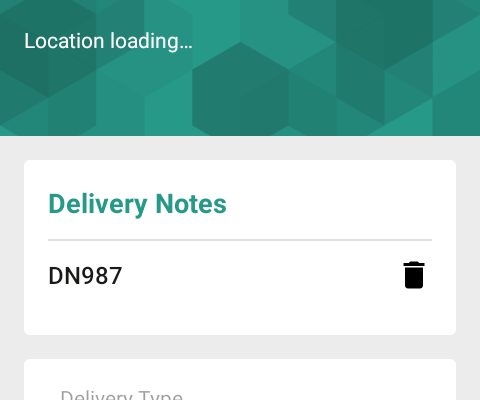
autoscan gets rid of pen and paper solutions even for your delivery team.
- Scan the deliver note
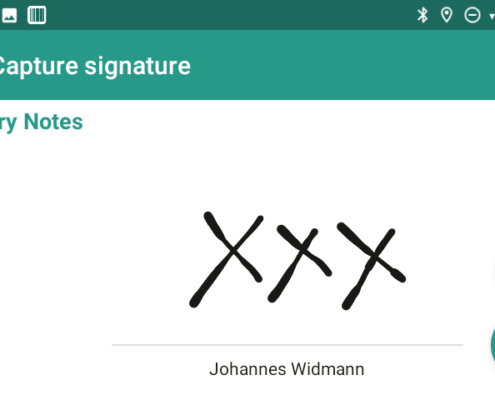
- Let customers sign directly on the device
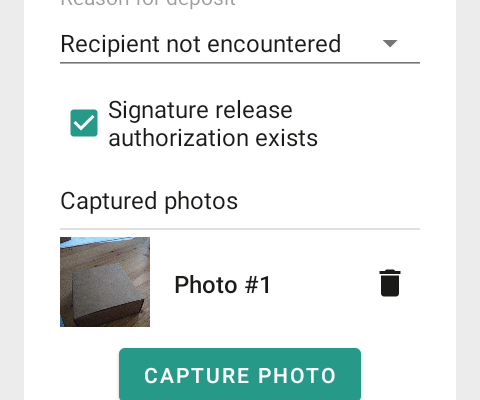
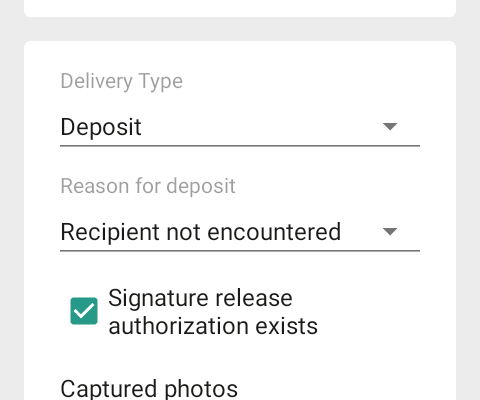
- Create photo proof when depositing items
- Store the proof of delivery document as a PDF in your archive
- Get delivery information in real time
Items and locations
Item information
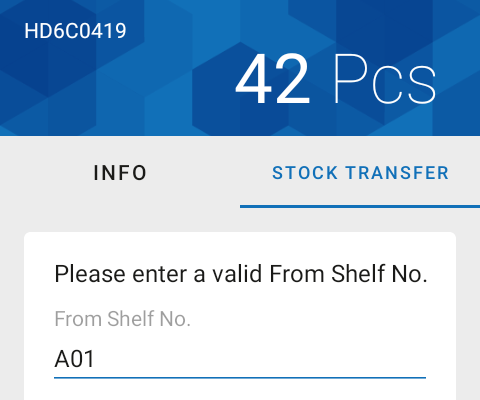
By scanning an item, autoscan will automatically open the item information showing relevant facts and function:
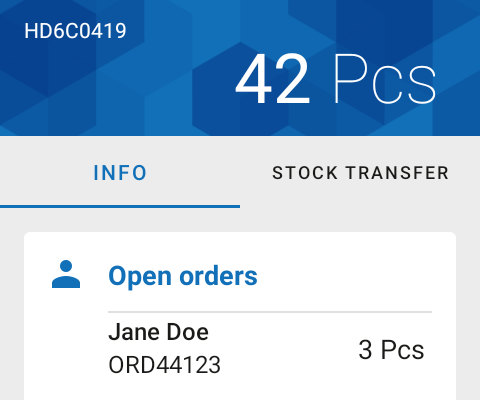
- item details like available quantity, quantity per shelf/bin and all sales order reservations
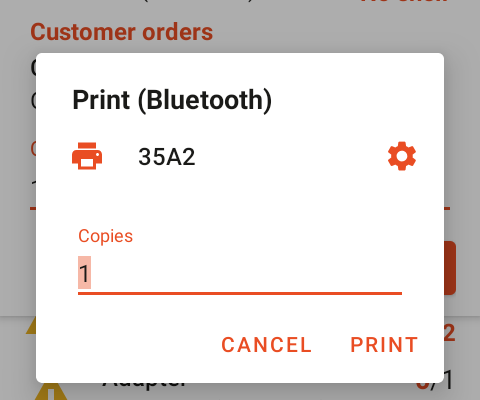
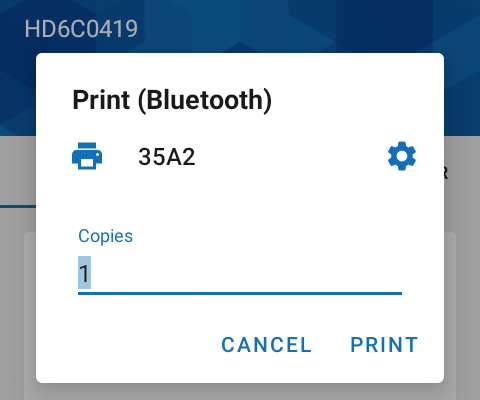
- print item labels on mobile Bluetooth printer
- remove item bin assignment
- add item to lists like requisition worksheets
Item transfer
Scan an item and a shelf code to transfer the item from one shelf to another.
If you are working with multiple shelves (bins) per item, you can chose if you want to transfer all items in stock or just a few. And you can choose if the new shelf should be the default place for this item from now on.
Location information
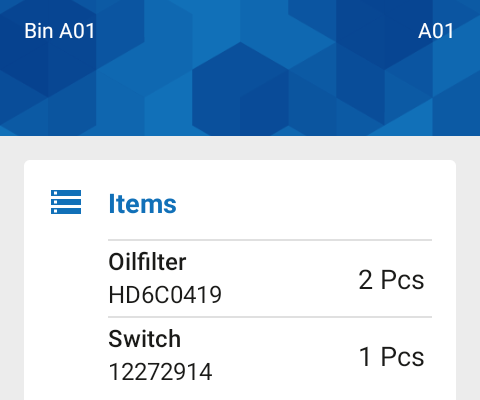
By scanning the shelf number, autoscan will show the shelf info.
- See all the items assigned to the shelf with their expected quantities
- Remove item shelf assignment
- Navigate to the item info by clicking on it
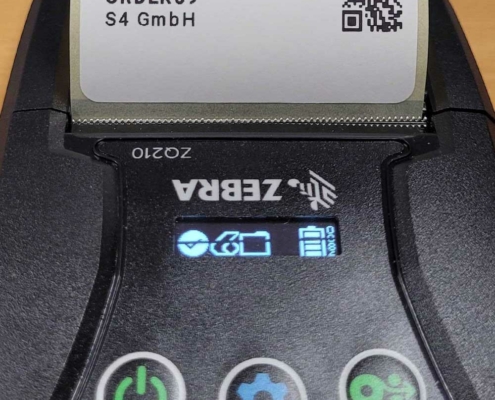
With our mobile printer you can print shelf labels right on the spot .
By the way: Looking for a way to create and print labels for shelves with QR codes? Look no further – we have a free template for you!
Physical inventory
Physical inventory the smart way
The days of paper-based acquisition lists and error-prone data entry are over.
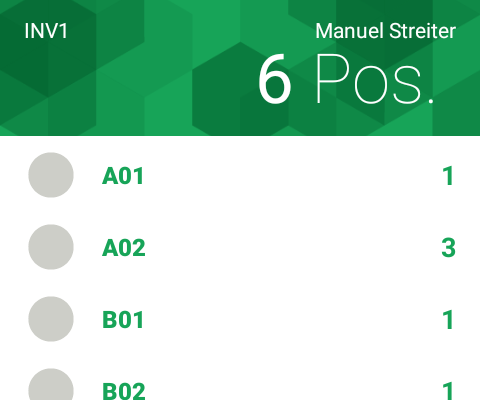
autoscan will lead you through the acquisition list shelf by shelf, always showing you where you are and where to go next.
Every recorded quantity is directly updated in your system in near real-time.
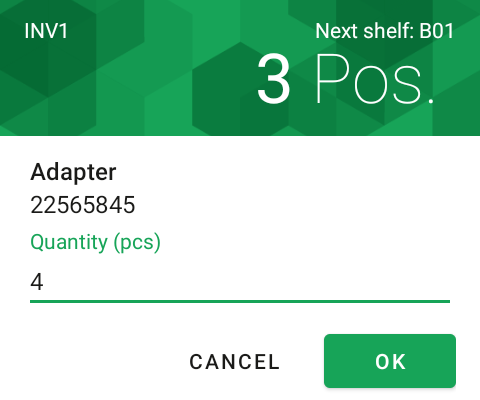
Record all items within a shelf by scanning them one by one. No need to follow any specific order. autoscan will make sure to add up all your input.
Due to its awareness of supersession chains, autoscan will even count quantities for the correct item if there is still stock of the old item on the shelf.
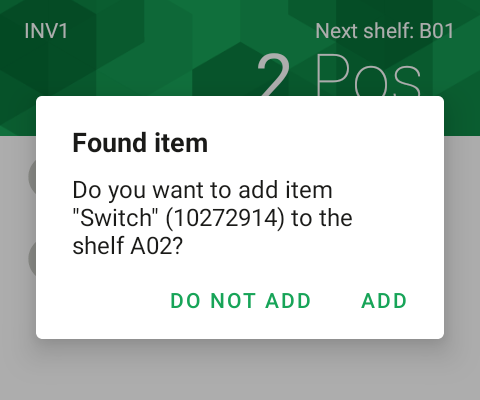
Unexpected/not listed items (depending on setup) may be added to the acquisition list.
Tire warehouse & depot management
Record tire data
Do you offer seasonal tire changes (including inspection and storage of the unused wheelset) to your customers? autoscan has got your back:
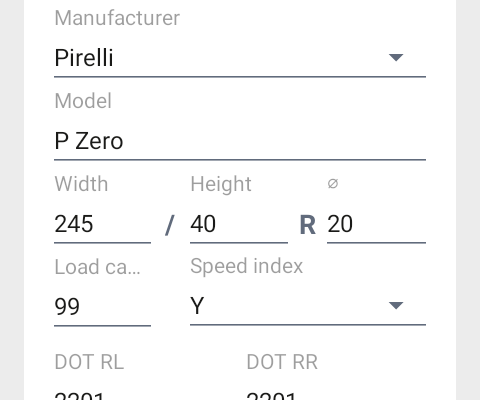
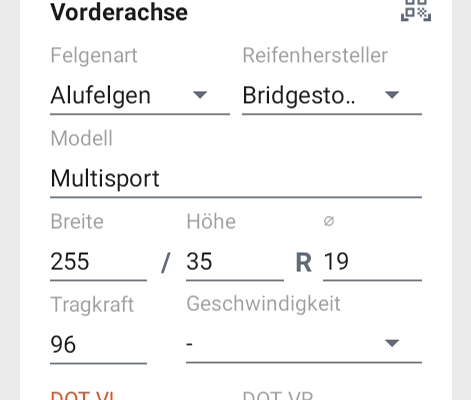
Scan the tire label to record tire data in no time.
- Add and edit wheelset data (manufacturer, dimensions, DOT and other attributes)
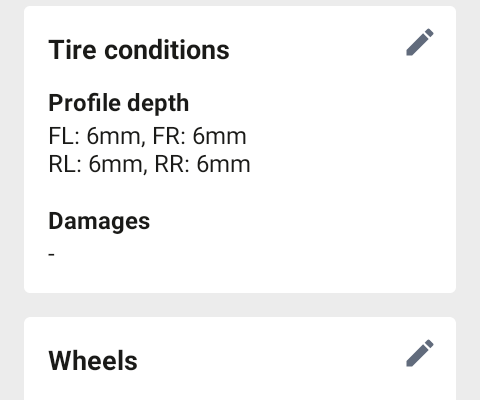
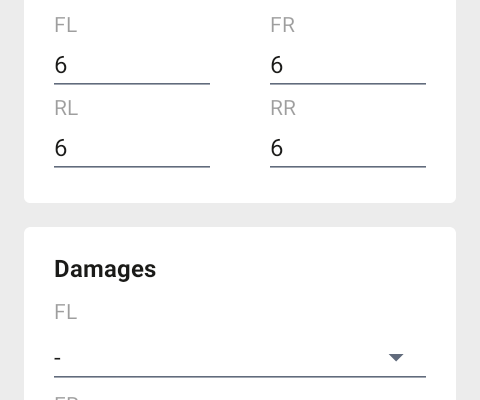
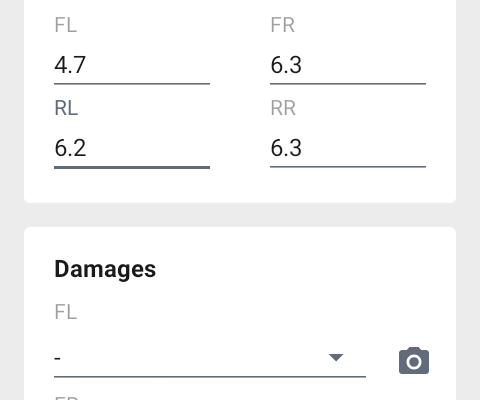
- Record tire thread depth
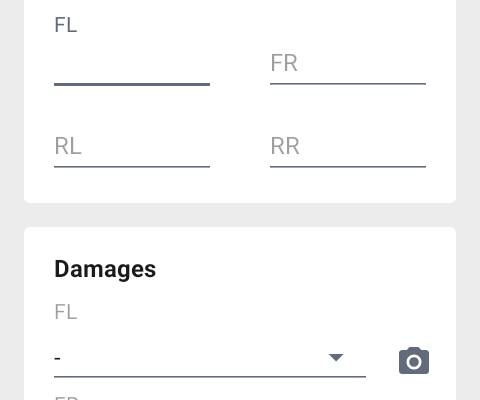
- Record damages per wheel and take images!
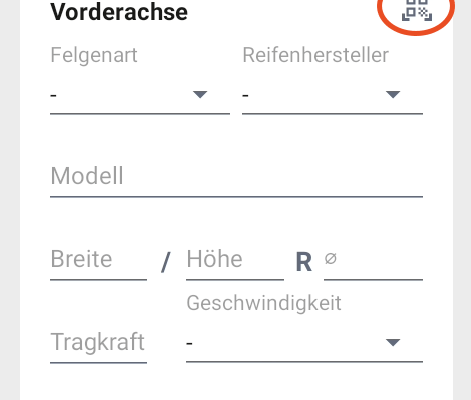
Scan QR codes on tires
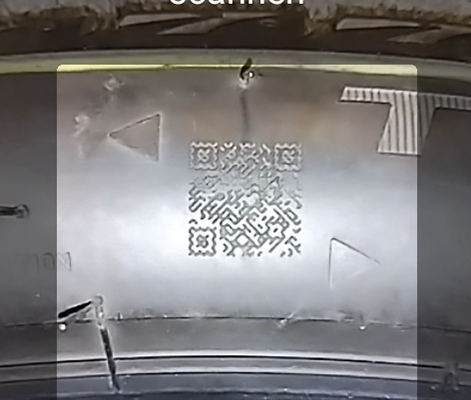
An increasing number of tires have laser-marked QR codes containing tire-related data that can be digitally decoded.
To allow for this data to be used conveniently and effortlessly, we have expanded our tire warehouse module: Just scan the code to read it. The data is automatically captured and transferred into the system!
Tire tread depth measurement
With the help of etirechecker®, a product by our partner efleetcon, we offer integrated tire depth measurement!
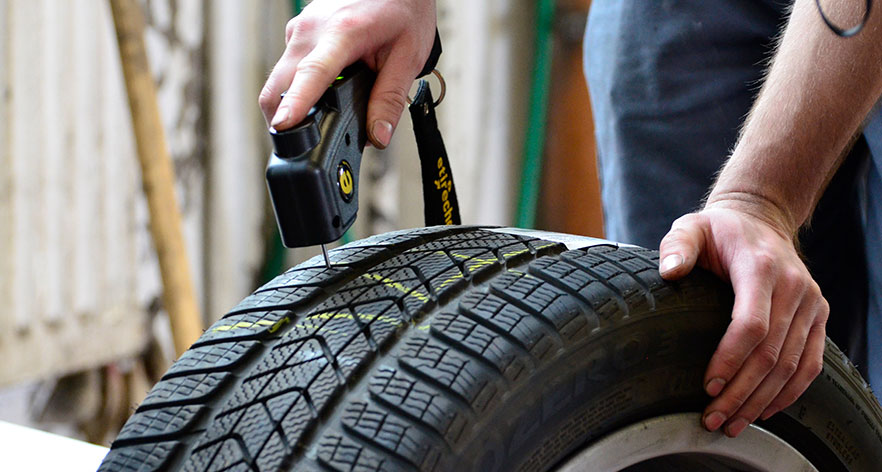
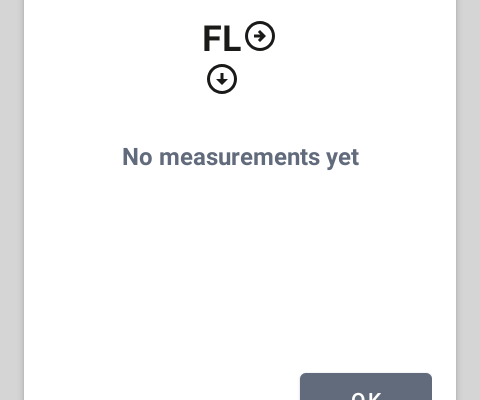
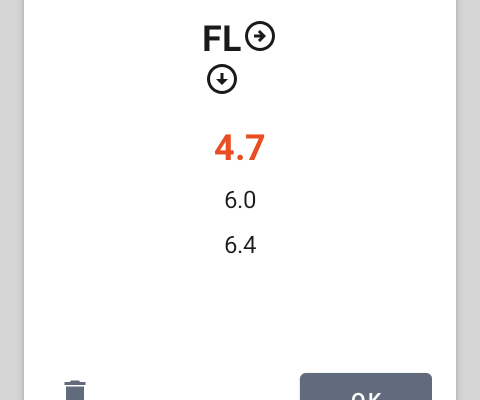
It’s super simple: Just measure the tire tread depth with etirechecker®. Simply use the digital gauge to take multiple readings per tire. autoscan will automatically receive the measurements and display them. The lowest value is highlighted and stored in your system.
You don’t even have to look at the display to record all tread depths:
- A measurement is automatically detected by autoscan and will start the process
- Sounds tell you that a measurement was successful
- Simply navigate to the next tire with the arrow keys
Put away or transfer tires
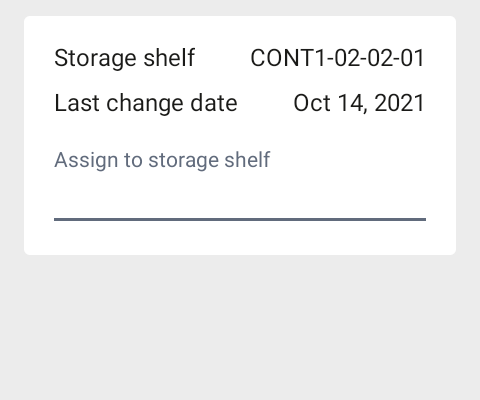
Put a set of tires into your warehouse by simply scanning the tire label and the label on the shelf.
Transfer tires in the same way. This is especially useful, when using holding areas like “ready for stocking” or “ready to be issued”. autoscan shows where the tire set is currently located.
Pick tires for upcoming appointments
Picking and preparing tires for your customers is usually a lot of work (searching for appointments, checking if the customer’s tires are in storage, creating a list of tires to pick, printing the list and recording the tires as picked when the paper comes back).
autoscan automatically creates a picking list for you, based on upcoming customer appointments.
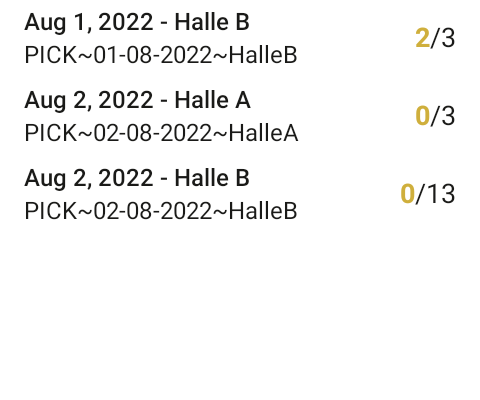
Appointments and tire info are combined directly on the scanner to generate a picking list. This list is sorted by appointment date/time and tire storage location (e.g. warehouse A and B).
Using the picking list on the scanner, you can retrieve tires from storage, scan them and thereby ship them automatically in your system – 100% mobile and digital.

